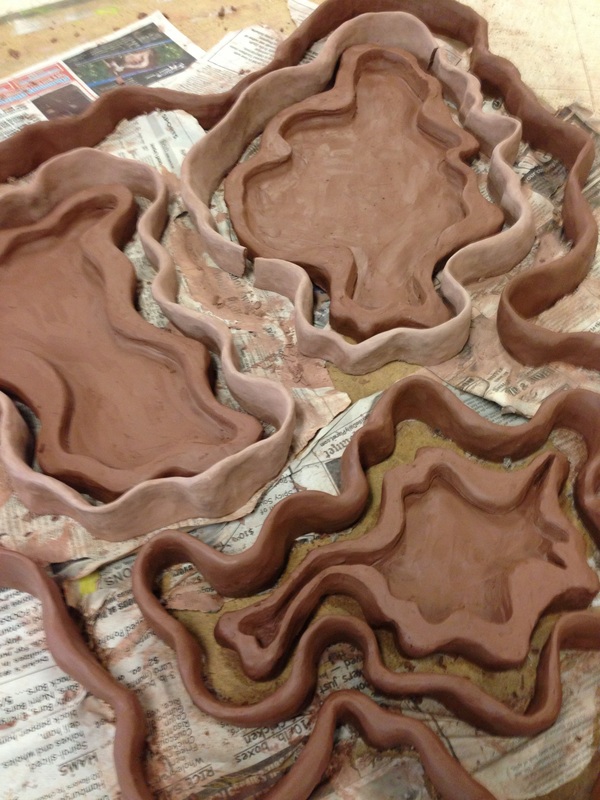
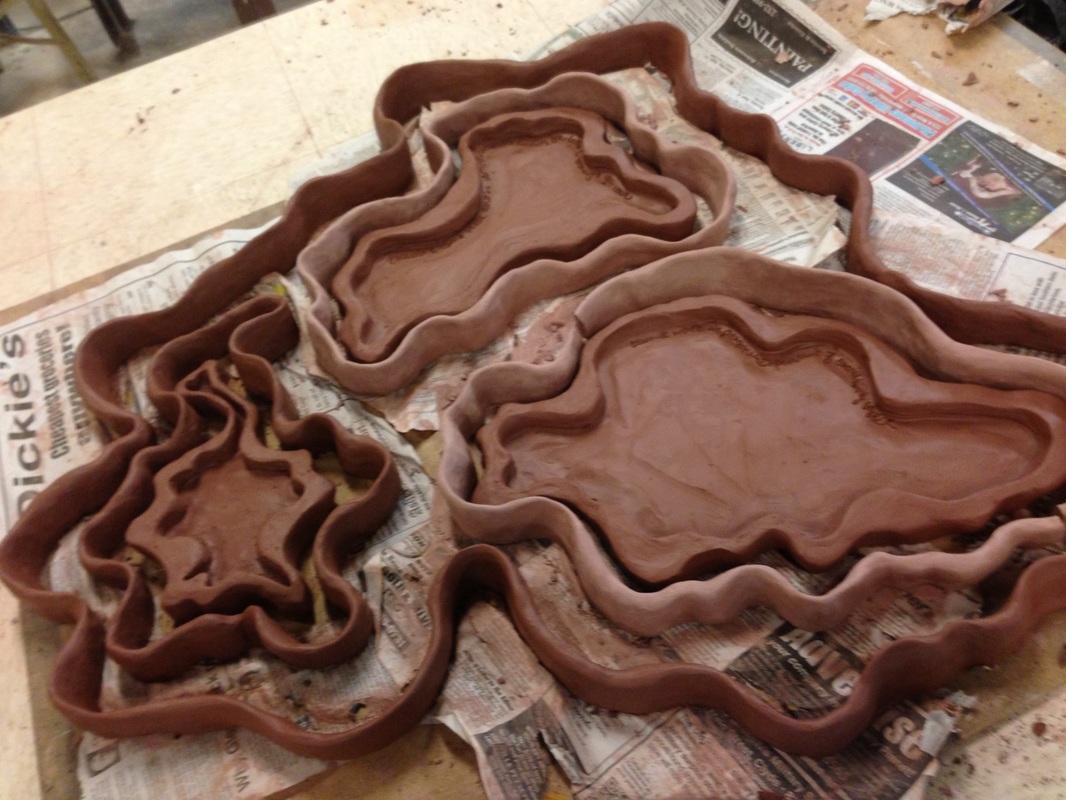
Kelly Olshan Art
  • Home
  • Portfolio
  • About
  • Store

Process Study: Waterscape

10/25/2015

0 Comments


1. Design the form

Picture
Picture
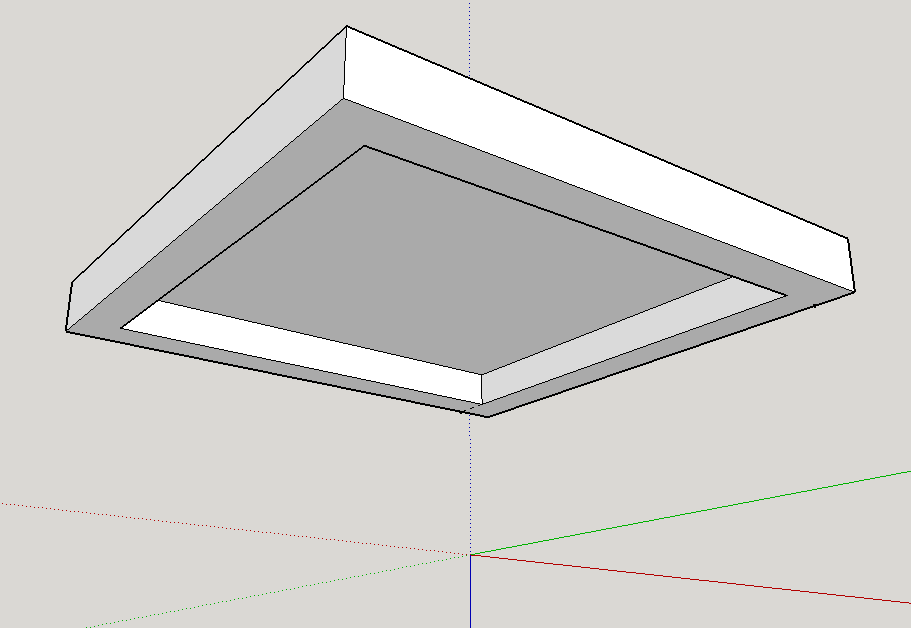
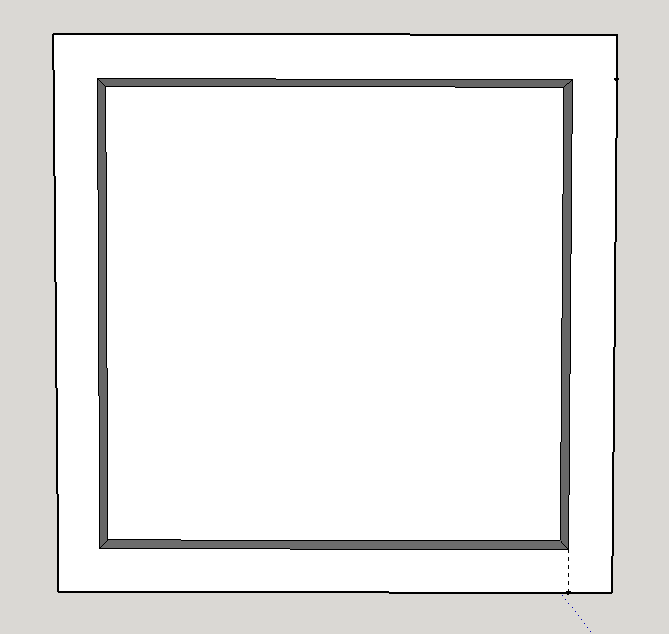
As with many of my paintings from the Perpetual Pursuit series, I began this panel by designing it virtually. I initially planned on hanging the piece fro the ceiling (as shown in the left image), but ultimately determined 1) this was too much of a direct reference to James Turrell's "Skyspace" series, and 2) that this posed an major lighting dilemma. I wanted the piece to be well-lit, an impossible task for a piece hung with its back literally to the light. I thought about displaying the piece on the floor, too, as it was intended to abstractly emulate water.  

I liked the idea of framing an abstract place where you would rather be.
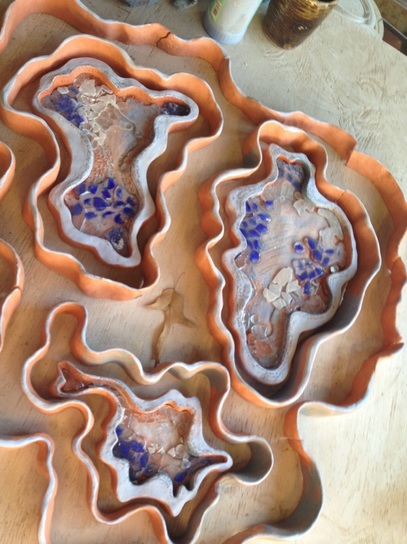
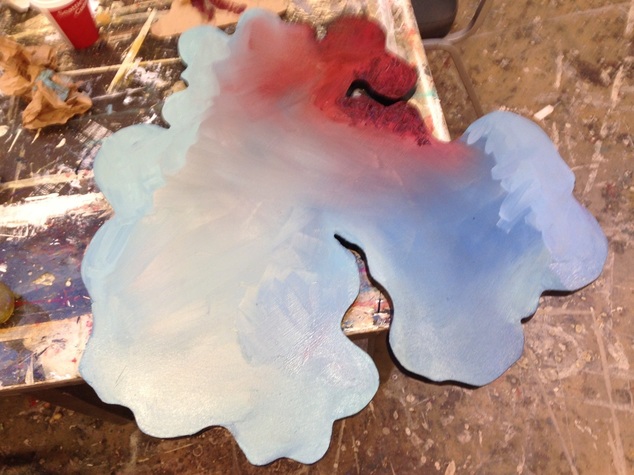
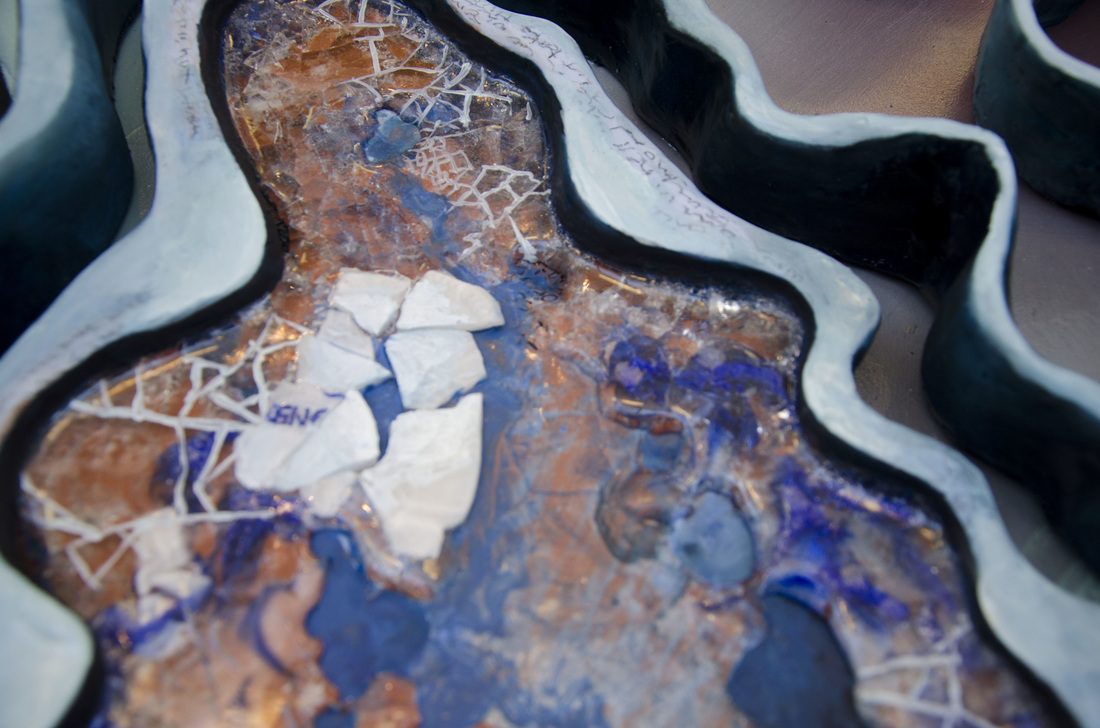
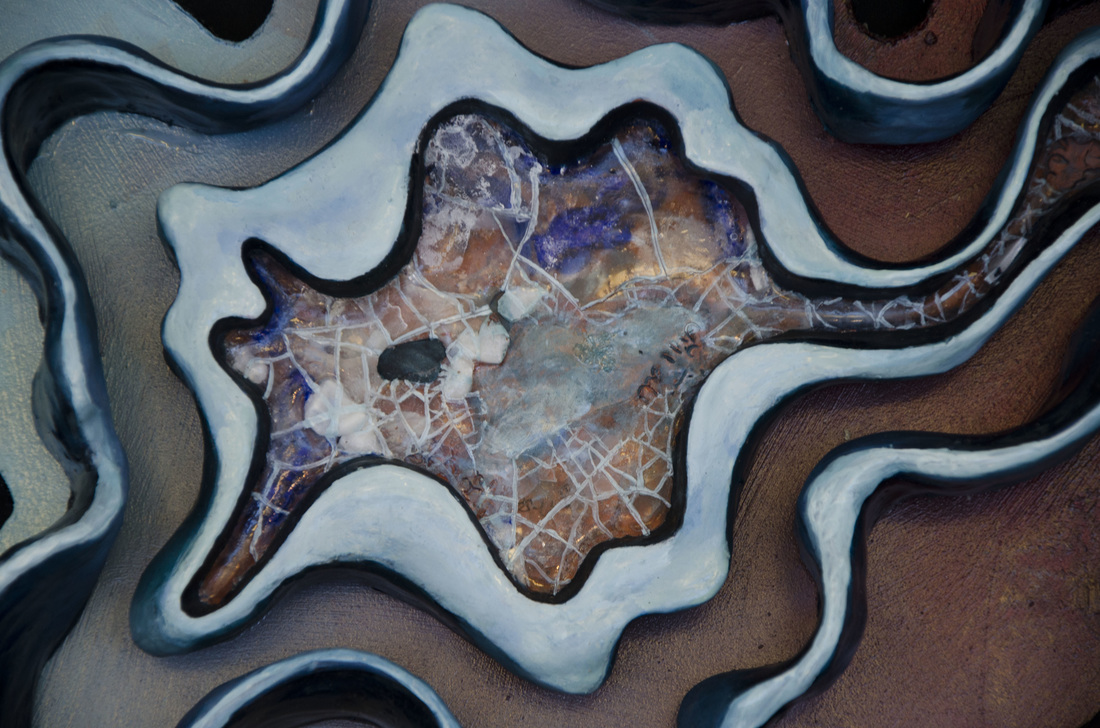
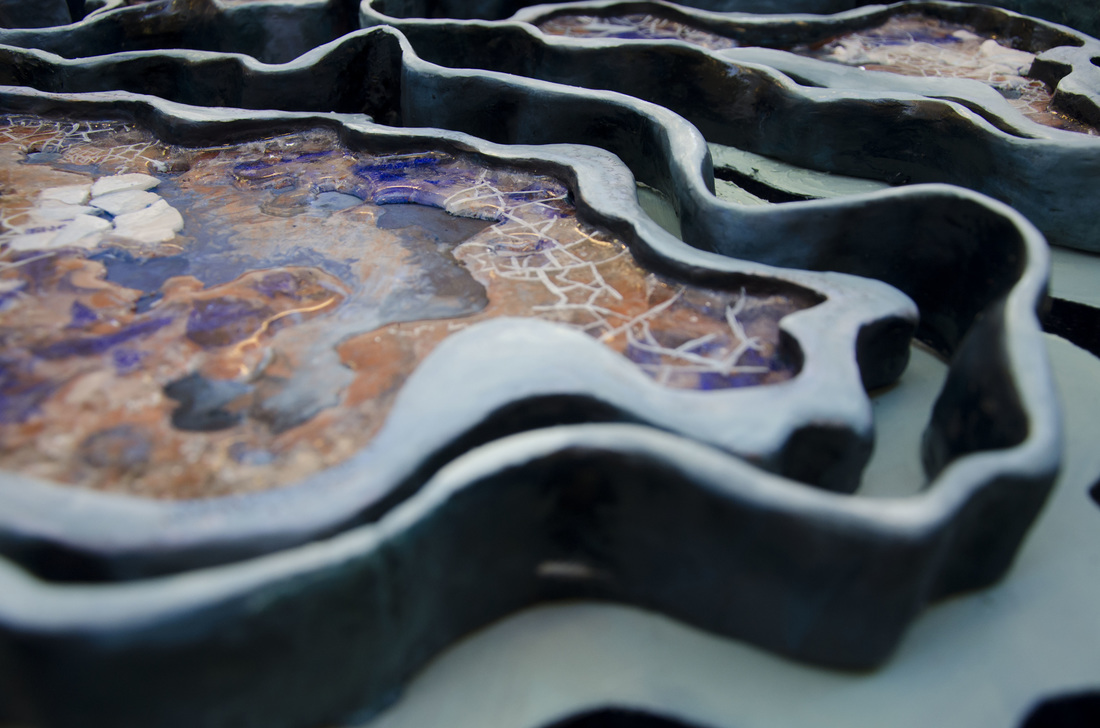
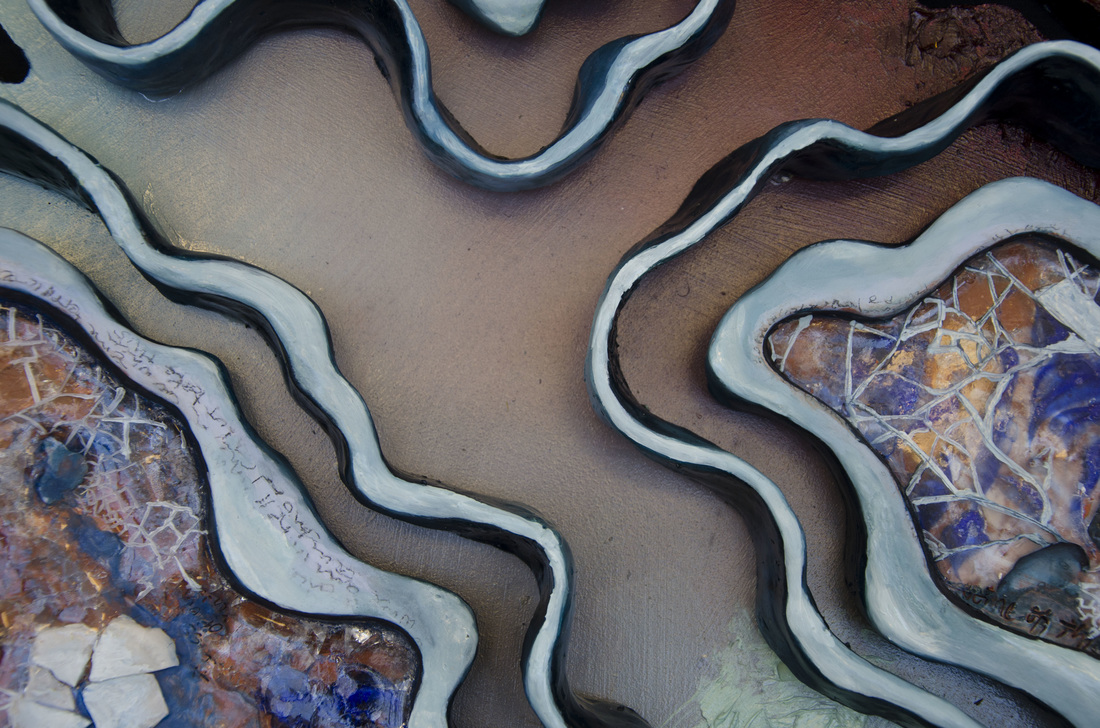
2. Begin painting

Picture
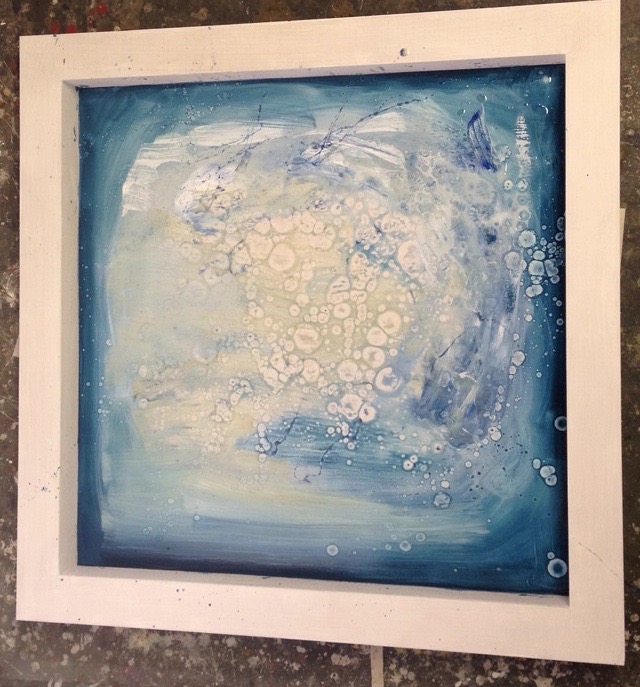
I did a lot of the painting on the floor. The bubble-like forms are composed from flicking water into the oil paint. Since oil isn't water soluble, the water marks end up removing the pigment--leaving residual droplets behind.

3. Finalize painting

Picture
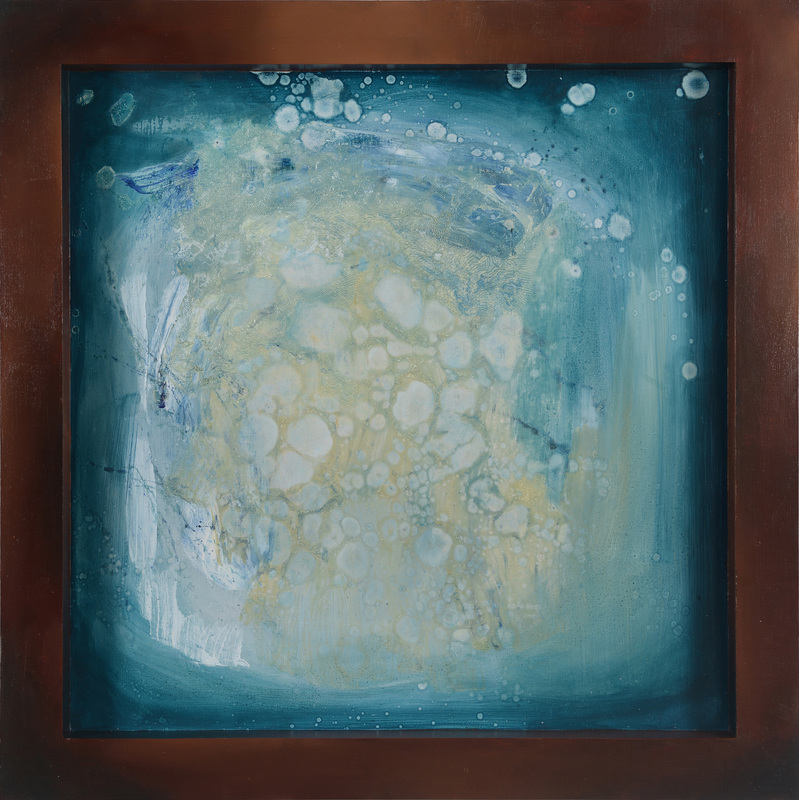
On the inner portion, I wanted to refine the piece while still leaving evidence of the water-like bubbles. It took me a long time to find a color that wasn't too dark, but wasn't too light to accomplish this. On the outside portion, I wanted to create a gradient in a color that complimented the inner panel. I spent hours wet-on-wet blending to make the transitions look smooth. While not pictured here, the sides are painted as well.
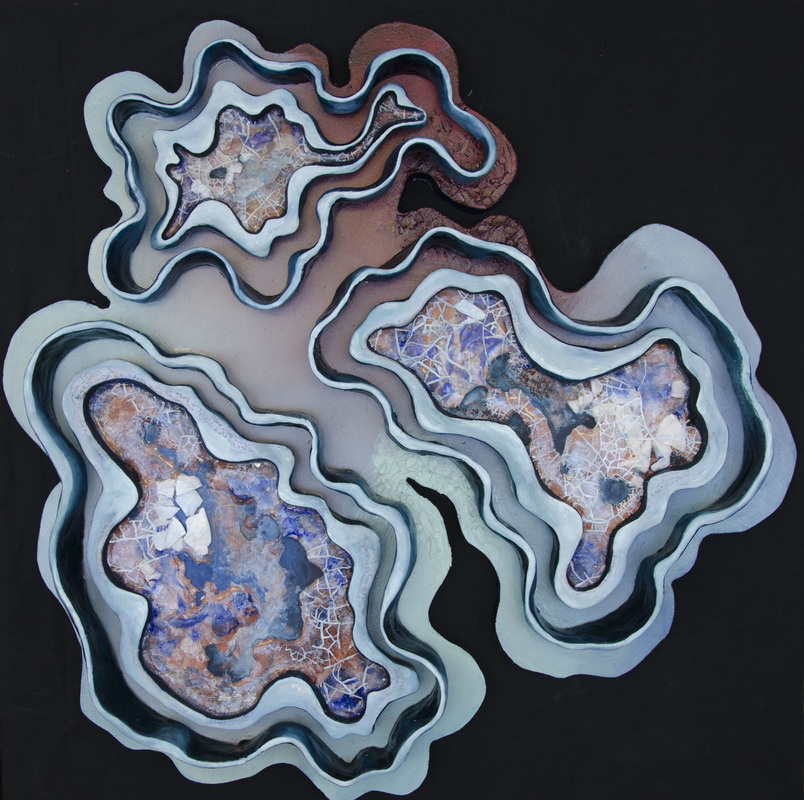
4. Display

Picture
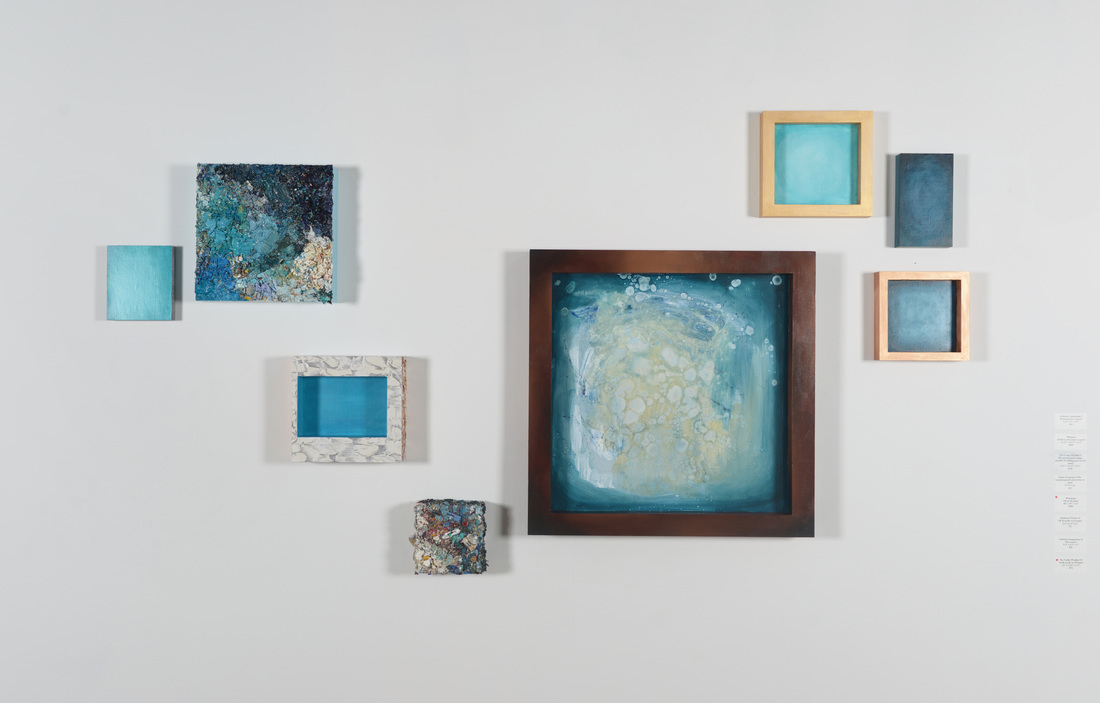
Ultimately, I ended up hanging "Waterscape" on the wall amongst a constellation of other pieces. Together, they formed an installation. The piece is now among the private collection of UNC Asheville's provost. More and photos of "Waterscape" can be found here. 
0 Comments

Process Study: Topography

10/17/2015

0 Comments


Creating the Clay Forms

Picture
Picture
Originally realized in clay, these forms were designed to resemble topographical maps. They "fit" together like puzzles, creating an organic assemblage of pieces.

They "fit" together like puzzles, creating an organic assemblage of pieces. 
This is the piece after it came out of the kiln--the first time. I did some minimal glazing, and the glass didn't melt as much as I wanted it to. Moreover, the very outer ring cracked! I was going to redo it, but my ceramics teacher convinced me that it was for the better, that the form was too complicated anyway. In the end, the MDF board ended up functioning at the outer ring.
Picture

Cutting & Painting MDF Board

Picture
After cutting an MDF board to size (the curvilinear shapes were a bit tricky on the band saw), I began painting the panel. I wanted the panel to support rather than distract from the main ceramic piece, so I stuck to relatively simply blending with a few accents. I particularly liked drawing attention to the very edge of the board, so I painted it a deep, contrasting blue.

Painting the Fired Object

Picture
Picture
After the second firing, the glass melted more. I painted over the clay in oil paint, and painted over the glass in spiderweb-like patterns. You can also see text written faintly in the lefthand image.

The Final Piece

Picture
Picture
Picture
0 Comments
    Picture

    Author

    A NYC-based visual artist and arts administrator, Kelly holds an MA in Arts Administration from Columbia University and a BFA from UNC Asheville, where graduated Valedictorian.

    Archives

    January 2017
    November 2015
    October 2015
    July 2015
    June 2015
    August 2014

    Categories

    All
    Americans For The Arts
    Arts Administration
    Arts Advocacy
    Arts Participation
    Creative Economy
    Internship
    Local Arts Agencies
    Research

    RSS Feed

Copyright Kelly Olshan © 2021